
March 12, 2019
Environment Management in Expo
We recently expanded our service offering at Whitelabel to include mobile app development using Expo and React Native. This technology allows us to develop native applications for both iOS and Android devices using our knowledge of JavaScript and React. As with any new framework or language, there proved to be a learning curve, specifically when it came to our project workflow.
While our team was familiar with how to manage environment variables on an array of web projects (configuring variables such as API urls for local, staging, and production environments), Expo and React Native do things slightly differently.
After some trial, error, and research, we created a workflow based on a post from Peter Piekarczyk. Beginning with creating an Expo-based equivalent to a .env file, I’ll show you our team’s full workflow when it comes to using React Native and Expo’s Release Channels for local, staging, and production environments.
Update: August, 23, 2019
A Note on Security – This article focuses on how to maintain variables in a workflow across Expo environments but does not include specific information on how to secure sensitive information such as secrets.
Be aware that you will want to look into obfuscating sensitive information. Please see this comment for further information (or comment suggestions at the bottom of this article!)
What is Expo?
First, I want to clarify what Expo is and why we use it.
“Expo is a set of tools built on top of/around React Native. These tools depend on one key belief held at Expo: it’s possible to build most apps without ever needing to write native code, provided that you have a comprehensive set of APIs exposed to JavaScript.”1
It’s basically Rails for React Native. It allows our team to write native applications using JavaScript in whatever code editor we want rather than having to use Xcode or Android Studio (and writing native code). Not only that, but it “provides access to the device’s system functionality (things like the camera, push notifications, contacts, local storage, and other hardware and operating system APIs) from JavaScript.”2
If you ever want to dive into native code, you can always “eject” from Expo, but we’ve never needed to do that and we actually try to avoid it whenever possible – Expo just provides so much that it’s rarely worth ejecting.
If you’re interested in diving deeper, there is some great documentation on Expo’s site including an FAQ on the differences between Expo and React Native.
Environment Variables in Expo using Release Channels
What isn’t entirely clear when getting started with Expo is how to configure environment variables. You may be used to creating .env files to define your API url or other variables for local, staging, and production environments, however Expo doesn’t use .env’s by default.
In fact, without external packages and/or ejecting from Expo, the primary means of creating environments with their own variables is by using Expo’s Release Channels. These release channels allow you to “send out different versions of your application to your users by giving them a URL or configuring your standalone app.”2
Here’s how we use release channels to manage our environments:
Create an Environment Config File
We start by creating an environment.js file that is also added to our .gitignore (so that any sensitive information is never published to GitHub). This environment.js essentially serves as the project’s .env file, allowing us to store api urls and other variables that change based on the app’s current environment.
/*****************************
* environment.js
* path: '/environment.js' (root of your project)
******************************/

import Constants from "expo-constants";
import { Platform } from "react-native";

const localhost =
 Platform.OS === "ios" ? "localhost:8080" : "10.0.2.2:8080";

const ENV = {
 dev: {
   apiUrl: localhost,
   amplitudeApiKey: null,
 },
 staging: {
   apiUrl: "[your.staging.api.here]",
   amplitudeApiKey: "[Enter your key here]",
   // Add other keys you want here
 },
 prod: {
   apiUrl: "[your.production.api.here]",
   amplitudeApiKey: "[Enter your key here]",
   // Add other keys you want here
 }
};

const getEnvVars = (env = Constants.manifest.releaseChannel) => {
 // What is __DEV__ ?
 // This variable is set to true when react-native is running in Dev mode.
 // __DEV__ is true when run locally, but false when published.
 if (__DEV__) {
   return ENV.dev;
 } else if (env === 'staging') {
   return ENV.staging;
 } else if (env === 'prod') {
   return ENV.prod;
 }
};

export default getEnvVars;
You’ll see a couple of things here. First off, we check what platform the app is being run on (iOS or Android) via Platform to determine the correct localhost address. We quickly found that Android requires a different address in order to correctly render images and other static assets when running locally. 3
Next, the ENV object is where we add variables including each environment’s apiUrl and, in this case, the key for Amplitude which we used for analytics tracking on each environment.
Lastly, the getEnvVars() function is what’s exported from the file. It checks which release channel the app’s compiled binary is running via Expo’s Constants and returns the corresponding variables.
Accessing Environment Variables
After the variables are set up, we import and call the getEnvVars() function from environment.js in our api.js file in order to access the proper apiUrl for our api calls.
You’ll see that we use ES6’s destructuring assignment syntax to get the specific variable we want (in this case apiUrl) out of the function:
/*****************************
* api.js
* path: '/utils/api.js'
******************************/
// Import getEnvVars() from environment.js
import getEnvVars from '../environment';
const { apiUrl } = getEnvVars();

/******* SESSIONS::LOG IN *******/
// LOG IN
// credentials should be an object containing phone number:
// {
//   "phone" : "4191231234"
// }
export const logIn = (credentials, jsonWebToken) => (
 fetch(`${apiUrl}/phone`, {
   method: 'POST',
   headers: {
     'Authorization': 'Bearer ' + jsonWebToken,
     'Content-Type': 'application/json',
   },
   body: JSON.stringify(credentials)
 })
);
You can see how useful this can be with multiple variables within the same environment. To import a key for Amplitude into its own config file, for example, we do the following from Amplitude.js
/*****************************
* Amplitude.js
* path: '/utils/analytics/Amplitude.js'
******************************/

import { Amplitude } from 'expo';

// Import getEnvVars() from environment.js
import getEnvVars from '../../environment';
const { amplitudeApiKey } = getEnvVars();

...
const initialize = () => {
 if (!amplitudeApiKey) {
   return;
 }

 Amplitude.initialize(amplitudeApiKey);
 isInitialized = true;
};
...
A Suggested Workflow
After a few projects, we’ve come up with an Expo workflow that closely mirrors that of our web development projects. While not 1-to-1, hopefully this suggested workflow can help you and your team on your own Expo projects.
Environment 1: Local Development (“dev”)
In development, you can run your app on your local machine via Apple Simulator or Android Studio. The latter takes a little bit more set up.
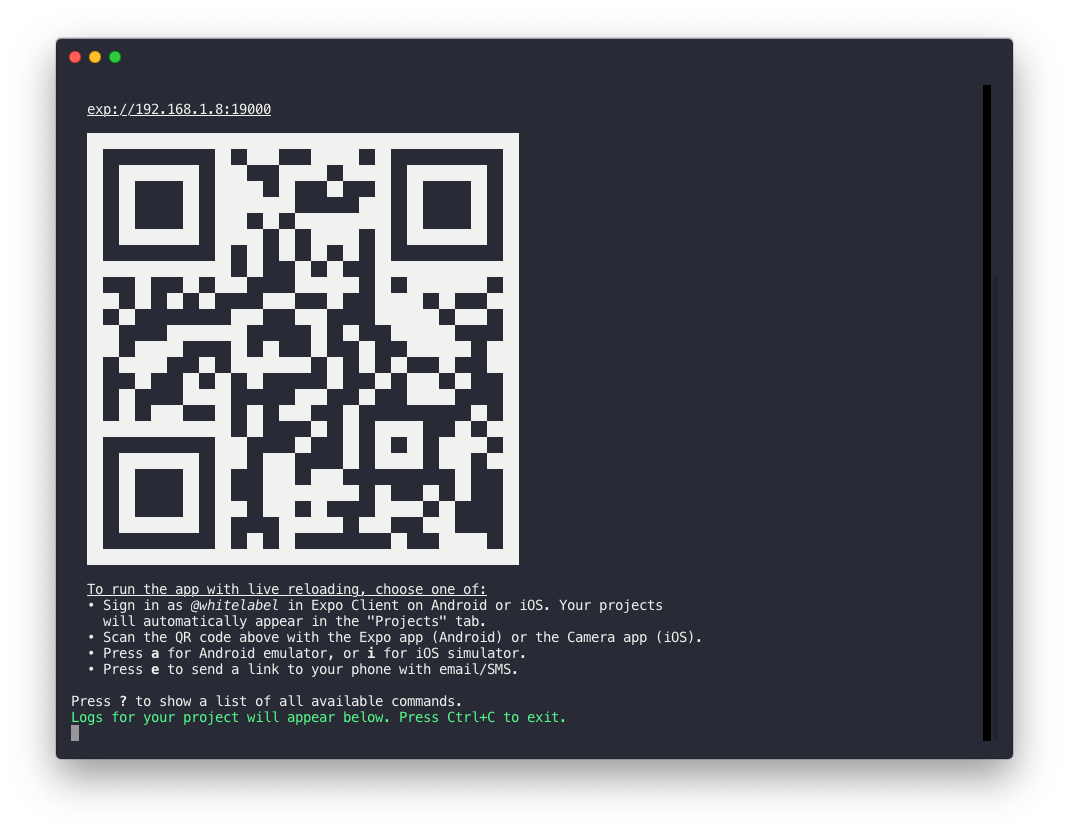
To run your app, run:
expo start
And then select which simulator (iOS or Android) you want to open via the expo-cli in your terminal:
With iOS, I’ve found you can run the command with the Simulator app closed or already open, while with Android, things are smoothest if you already have the AVD (Android Virtual Device) running.
By running locally, the __DEV__ flag will be set to true and your ENV.dev variables will be used:
/*****************************
* environment.js
* path: '/environment.js' (root of your project)
******************************/

// From ealier in this post...
const getEnvVars = (env = Constants.manifest.releaseChannel) => {
 // What is __DEV__ ?
 // This variable is set to true when react-native is running in Dev mode.
 // __DEV__ is true when run locally, but false when published.
 if (__DEV__) {
   return ENV.dev;
 } else if (env === 'staging') {
   return ENV.staging;
 } else if (env === 'prod') {
   return ENV.prod;
 }
};

...
Environment 2: TestFlight/Android Testing Tracks (“staging”)
The staging environment includes:
Running the app via TestFlight or an Android testing track (more info on those here).
There are essentially two main components to the “staging” workflow:
1) Creating and Uploading an Initial Build
First, you need to build a binary that you can upload to App Store Connect (iOS) and Google Play Console (Android) with your release channel set to staging. Setting the release channel flag allows you to then publish changes to that specific channel without having to rebuild and re-upload the binary.
expo build:ios --release-channel staging
or
expo build:android --release-channel staging
Once Expo has completed building the binary (.ipa for iOS and .apk for Android), you can then upload it to either Apple’s App Store Connect or Google’s Google Play Console. For more info on uploading to app stores, check out the Expo docs.
You won’t need to rebuild and upload a new binary unless you make core changes such as updating the Expo SDK or modifying other configurations in your app.json (you can read more on that here).
2) Publishing Updates to the Uploaded Build
Whenever you do want to publish updates, you can then run:
expo publish --release-channel staging
Any changes you’ve made will publish to the staging release channel via Expo’s over-the-air JavaScript updates and be available through TestFlight or Google Play’s Test Tracks.
Environment 3: App Store/Google Play (“production”)
Lastly, when you want to go live, building and publishing is just like that of the staging environment, however you designate your release channel as “prod”:
Building binary for upload:
expo build:ios --release-channel prod
or
expo build:android --release-channel prod
Publishing updates:
expo publish --release-channel prod
Just a note here that you can, of course, name the release channels for any of the your environments to whatever you’d like – be it prod, production, or my-awesome-app-is-finally-live. Just make sure to be consistent and set things up in your environment.js file.
Digging Deeper: Advanced Release Channels
If you want to be even more of an Expo wiz, take a look at the documentation on Advanced Release Channels. Expo provides the option to promote and roll back channel entries between release channels – which may save you some build time in the long run
Conclusion
Using Expo and Expo Release Channels, our team has built a workflow that works for us. The environment.js file takes the place of a .env, TestFlight and Testing Tracks on Google Play serve as our staging environment, and the released app is our final production.
It should be said that there are alternatives to this workflow, including packages like react-native-config and babel-plugin-inline-dotenv. However, the former requires ejecting from Expo in order to “link” to native code, and the latter requires additional configuration.
Using release channels allows us to create pseudo environment variables and take advantage of a feature already provided by Expo. I hope this explainer helps you and your team. Let me know what you think!